TinkerCad & Fusion
LED Lamp: TinkerCad
The assignment was to modify an existing template, so I decided to take a solid lamp template and adjust the base to make it just the outer shell. My inspiration behind this change was an LED lamp, where I could insert a light inside and it could light up the lamp. This would not be possible with a solid lamp, which is why I chose to modify the base to a shell. While the template did come with a top for the lamp, I chose to create a curved top versus a straight cylinder. This design was easy to sketch out (which was good, because I can't draw) and then I got to designing in TinkerCad.


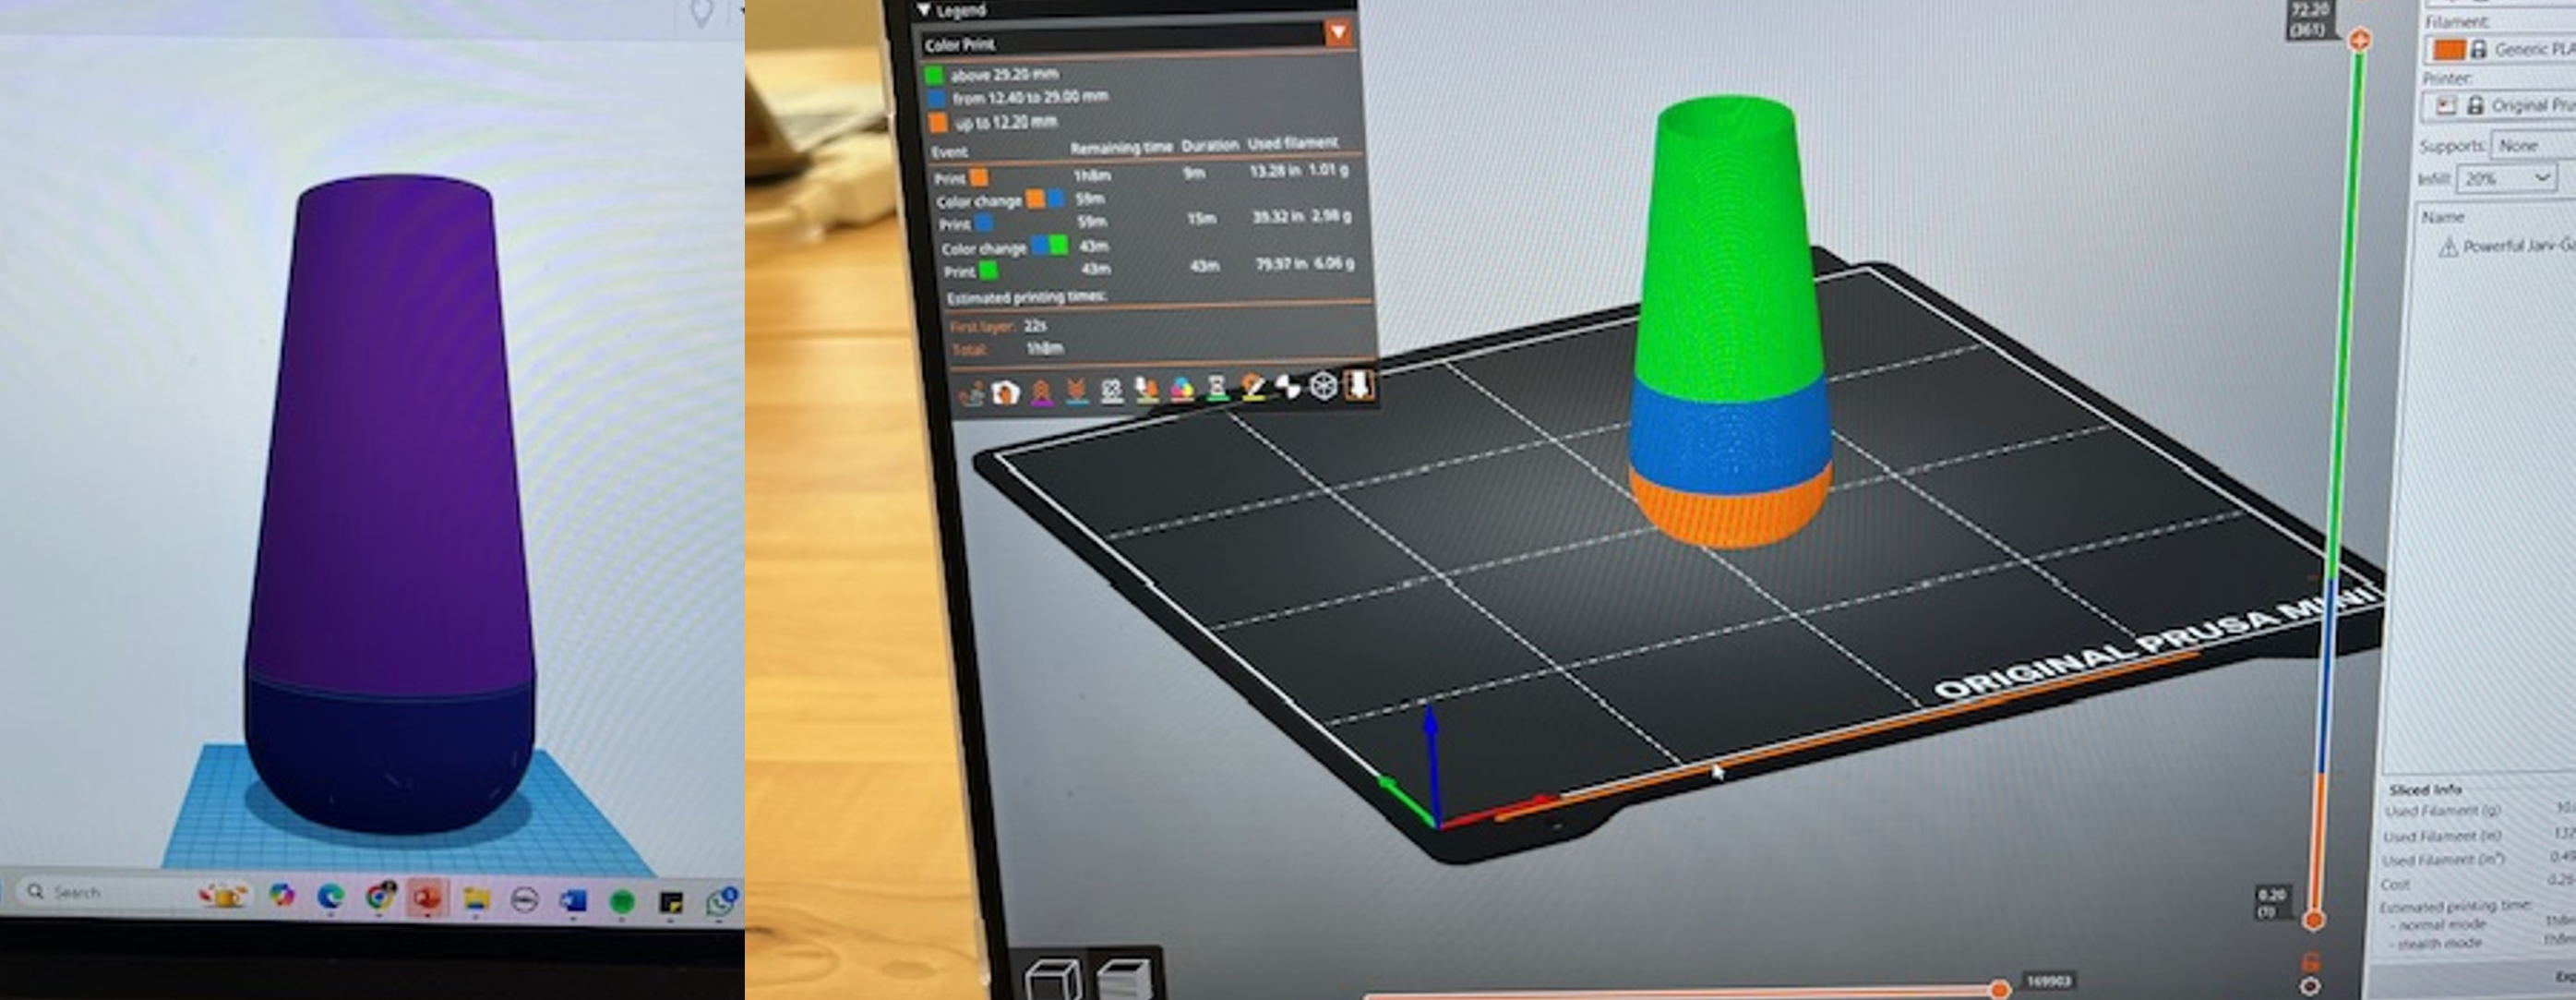
My sketch and the original design, both the intended print and the CAD design
Designing the lamp in TinkerCad was fairly easy, although I found myself frustrated by the software's limitations. I exported the design as an STL to PrusaSlicer, where I adjusted the design to allow for two color changes.The trouble came after I began printing and already had a color change. I'd printed the design with an infil of 20%, but the Prusa MINI+ started to make circles of fillament smaller than the previous loop. Therefore, the fillament made lines in the middle of the print instead of continuing the circular lamp. I decided to try printing with 70% infil to see if there would still be a printing error.

My CAD design and the GCode I sent to print
There are not many noticeable differences between the 20% and the 70% infill, because the ‘walls’ of the lamp are so thin that infill was not very necessary. The same print error happened in both lamps, but it wasn’t noticeable and didn’t have any effect on the lamp itself. As the lamp size was scaled down for this test print, a light does not fit inside, but it lights up rather nicely when a flashlight is placed underneath. Light colored filament was specifically chosen for this purpose, but if printing a real lamp, translucent or transparent filament would be preferred.


.jpg)
The 3d printed lamp, while printing and from various angles
LED Lamp: Fusion
LED Lamp: Fusion
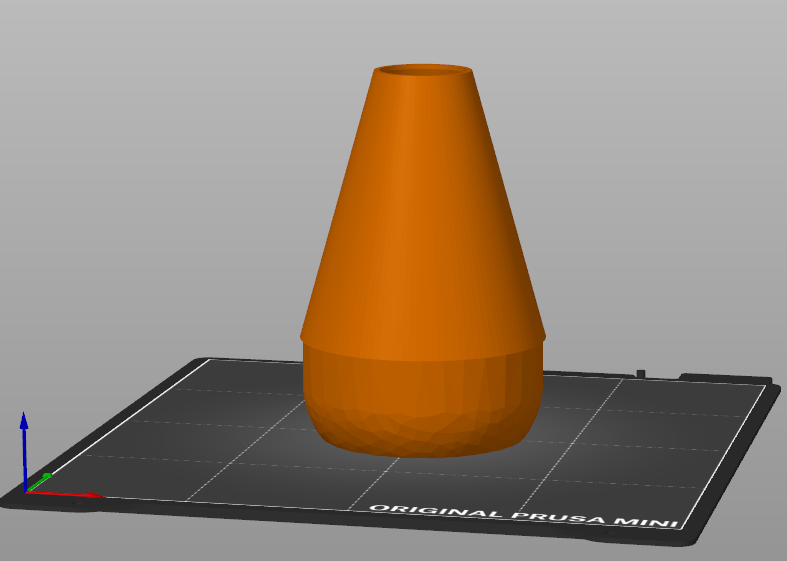
Something surprising to me was that I had a harder time in Fusion with my imported file. Fusion imports STLs as mesh files, and I struggled to convert it to a solid body in order to shell out the middle. Once that was achieved, however, the rest of the design went fairly smoothly. When I imported the design into Prusa Slicer, it told me that there were issues with the design and that it wouldn't print, so I ended up going back into the design and adding a short cylinder as support, which I later broke off the lamp. The design/print achieved its goal of being a lamp cover, although next time, I would design the entire lamp from scratch and not bother with remixing it. I would also adjust the thickness of the outer shell, as that was part of the software's hesitancy to print.


